Hi ! In this post, i’ll show you how I saved $$$ by using Cloudflare Workers instead of AWS’s API-Gateway to proxy requests to my AWS Lambda functions.
Why use Cloudflare Workers ?#
It’s all about the cost. 10 million api requests will cost you :
- With API-Gateway: $35
- With Cloudflare Workers: $5
We can say that Cloudflare Workers saves you 85% compared to API-Gateway !!
Getting Started#
First, create a new node project, in this blog post i’ll be using yarn:
1
2
3
| mkdir worker-proj
cd worker-proj
yarn init -y
|
then install some dev packages that we’ll need mainly for bundling our worker:
1
| yarn add dotenv-webpack webpack webpack-cli -D
|
also we need aws4 to sign our requests to aws:
Webpack config#
We’re using webpack in order to bundle our code and use it as a worker.
Create a new file in the project and call it webpack.config.js, and paste the following code into it:
 1
 2
 3
 4
 5
 6
 7
 8
 9
10
11
12
13
14
15
16
17
18
| const Dotenv = require("dotenv-webpack");
module.exports = {
entry: "./worker.js", // This will be our entry file
mode: "production", // We're building for production to optimize our worker
plugins: [new Dotenv()], // we'll be using a .env file to store our TOKENS
optimization: {
minimize: true,
},
performance: {
hints: false,
},
output: {
path: __dirname + "/dist", // this is the output folder
publicPath: "dist",
filename: "worker.js", // and this is where our final code will be at.
},
};
|
The Tokens we need#
We need to specify 4 essential params:
- ACCESS_KEY, SECRET: Get them from AWS IAM.
- REGION: The region where our Lambda func lives.
- FUNCTION: AWS Function name.
once you have all these params, create a .env file and add them to it.
Writing the worker#
First, create a file, we’ll name it worker.js.
Then, import aws4 and create a credentials object to store our AWS keys:
1
2
3
4
5
6
| import aws4 from "aws4";
const credentials = {
accessKeyId: process.env.ACCESS_KEY,
secretAccessKey: process.env.SECRET,
};
|
Now we write our worker function. It accepts a request param and returns the response of a request sent to our Lambda function.
 1
 2
 3
 4
 5
 6
 7
 8
 9
10
11
12
13
14
15
16
17
18
19
20
21
22
23
24
25
26
27
28
29
30
| async function worker(request) {
const reader = request.body.getReader();
// getPayloadFromReader is a function that we use to get the body of a request
const payload = await getPayloadFromReader(reader);
// we sign our request using the credentials we created earlier
const req = aws4.sign(
{
method: "POST",
service: "lambda",
region: process.env.REGION,
path: `/2015-03-31/functions/${process.env.FUNCTION}/invocations/`,
body: JSON.stringify({
httpMethod: "POST",
body: payload,
}),
},
credentials
);
// then we send the signed request to the lambda function and return the response
return fetch(`https://${req.hostname}/${req.path}`, {
method: req.method,
headers: req.headers,
body: req.body,
});
}
// The next 3 lines show you how to invoke a worker function using Cloudflare Workers
addEventListener("fetch", (event) => {
event.respondWith(worker(event.request));
});
|
As for getPayloadFromReader:
 1
 2
 3
 4
 5
 6
 7
 8
 9
10
11
12
13
14
15
16
17
18
19
20
| function binary_to_string(array) {
// We need this function to convert binary to string
var result = ``;
for (var i = 0; i < array.length; ++i) {
result += String.fromCharCode(array[i]);
}
return result;
}
async function getPayloadFromReader(reader) {
let payload = "";
while (true) {
let { done, value } = await reader.read();
if (done) {
break;
}
payload = payload + binary_to_string(value);
}
return payload;
}
|
Time to test !#
To test what we’ve done so far, add the build script to your package.json:
 1
 2
 3
 4
 5
 6
 7
 8
 9
10
11
12
13
14
15
16
17
| {
"name": "worker",
"version": "1.0.0",
"main": "worker.js",
"license": "MIT",
"scripts": {
"build": "webpack -p --progress --colors"
},
"dependencies": {
"aws4": "^1.8.0"
},
"devDependencies": {
"dotenv-webpack": "^1.5.7",
"webpack": "^4.25.1",
"webpack-cli": "^3.1.2"
}
}
|
and run yarn build, then copy the code that’ll find in dist/worker.js.
Once you copy the worker code, head to https://cloudflareworkers.com and paste the worker code in the red-bordered section then click on update.
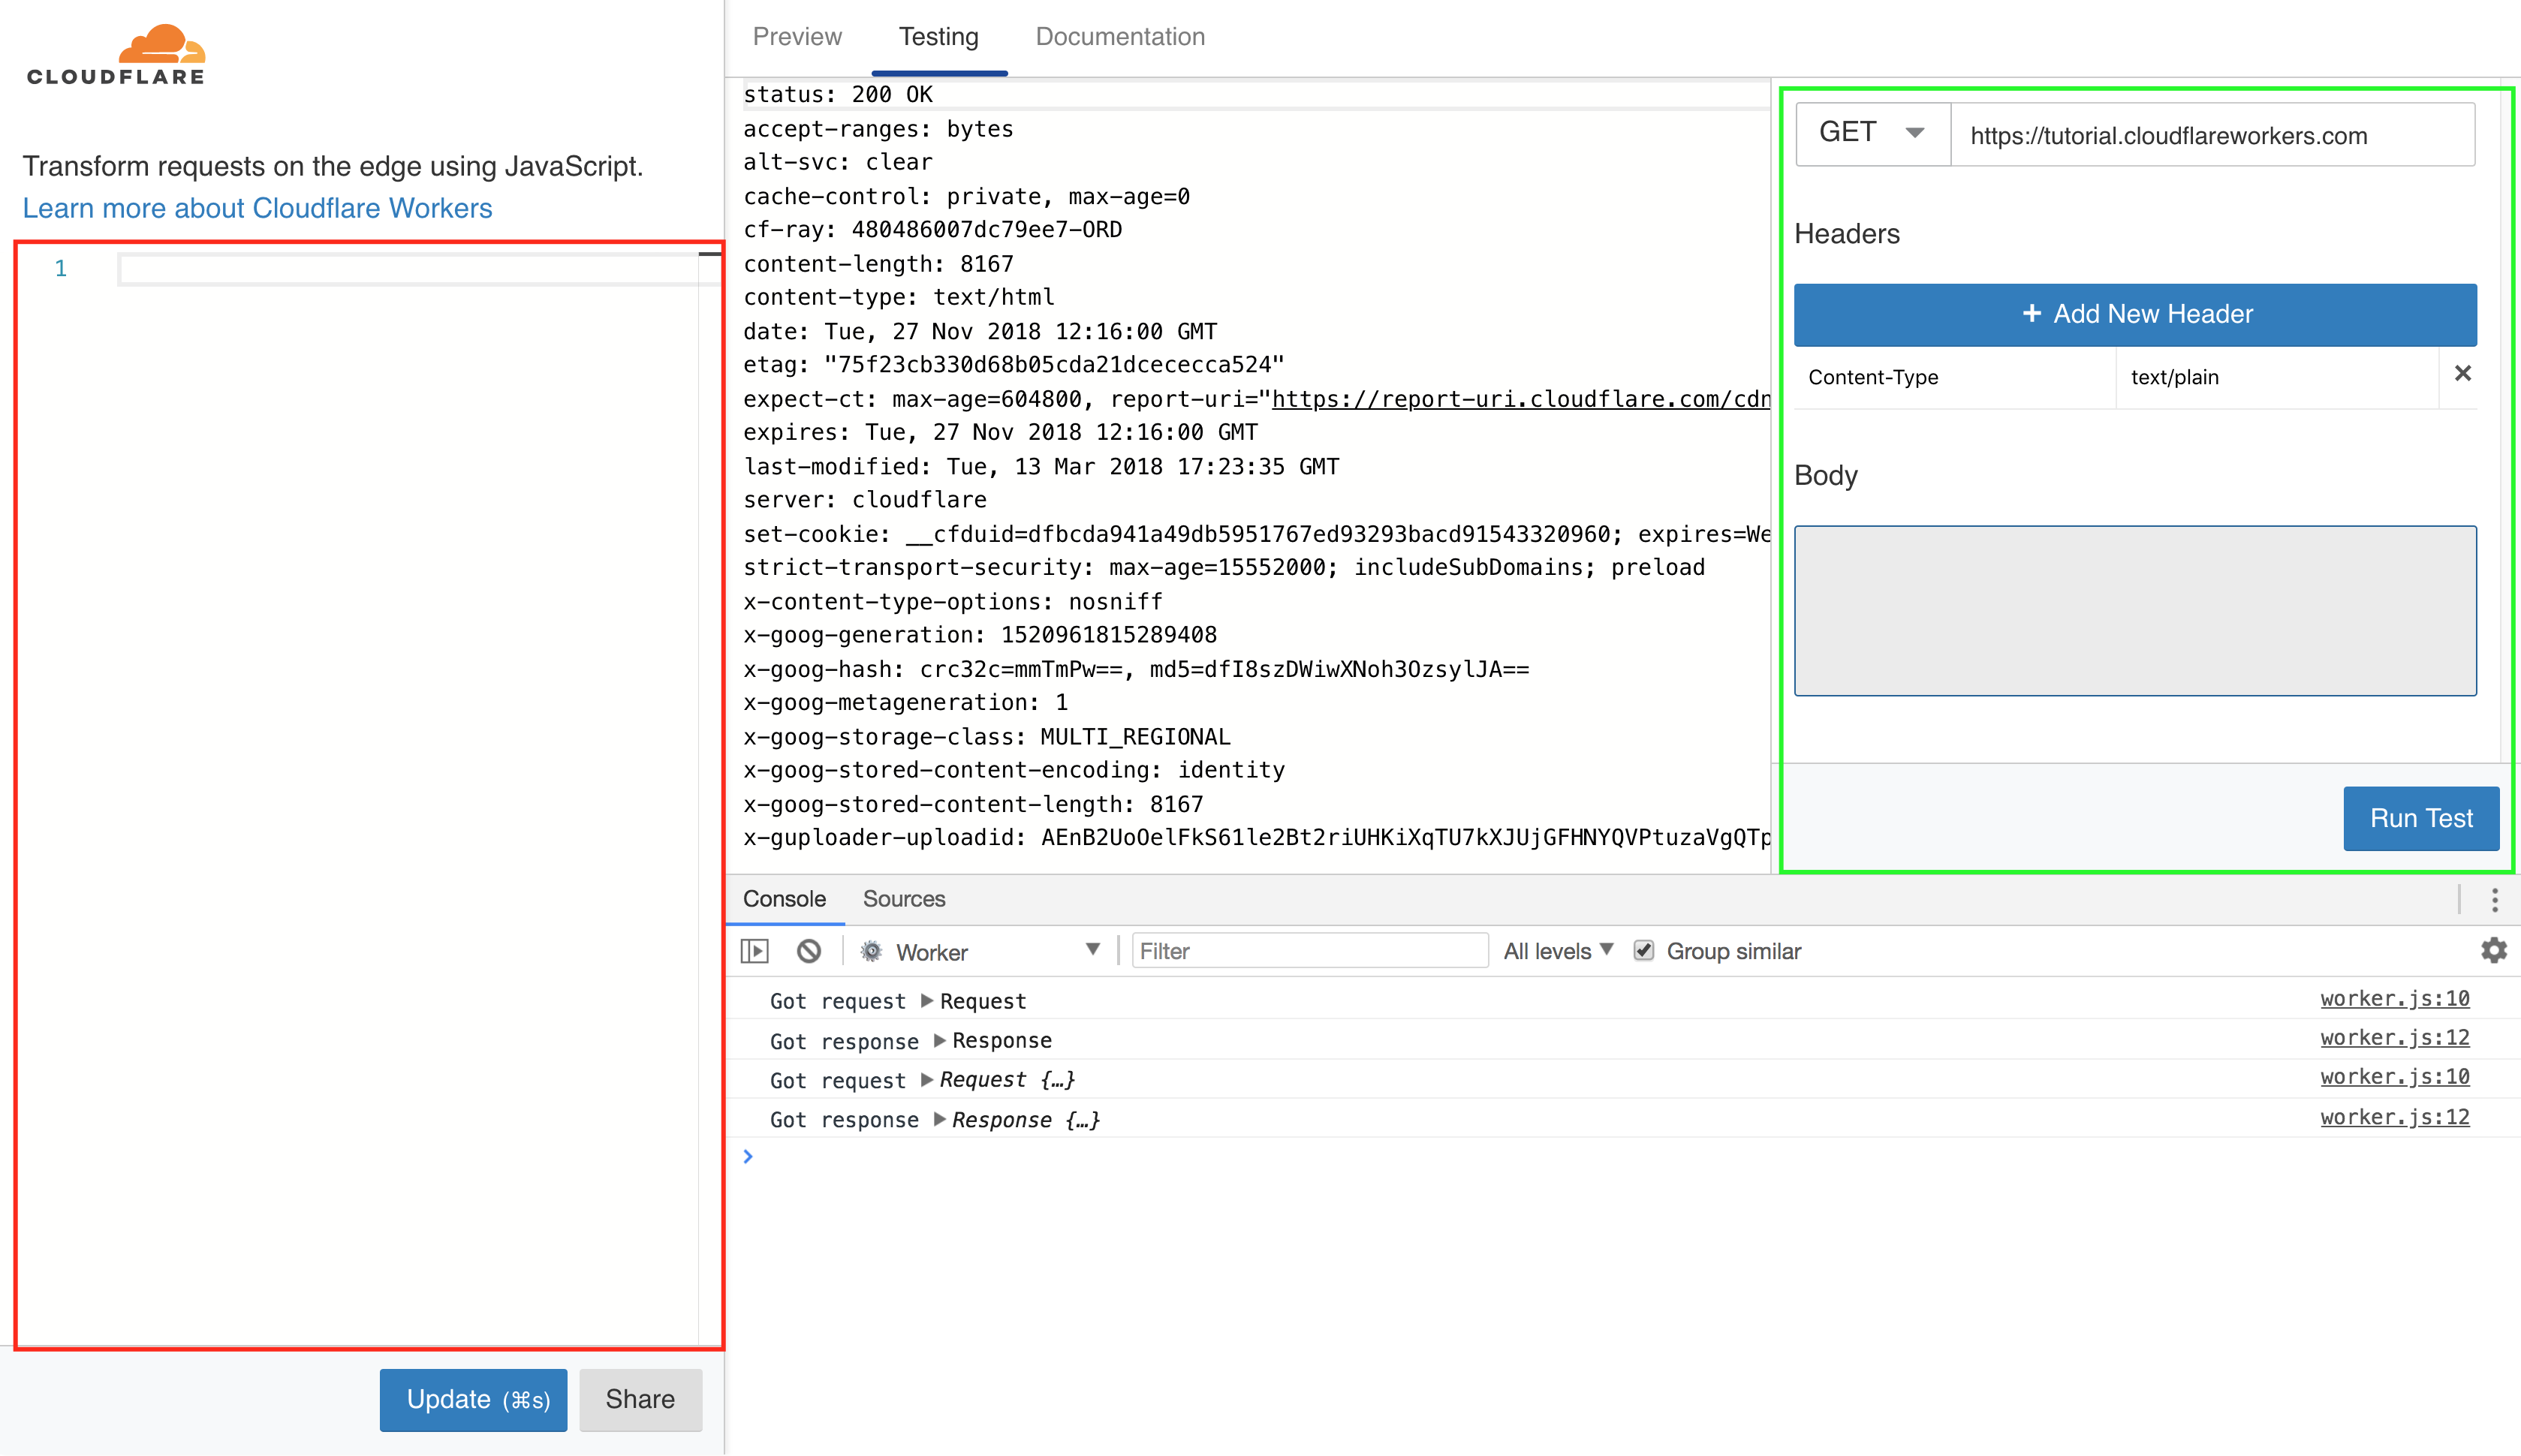
In the right section (green-bordered) of the screenshot above you can see test different kinds of requests.
Conclusion#
Now you can save some 💰💰 by using Cloudflare Workers !!
Have a great week !